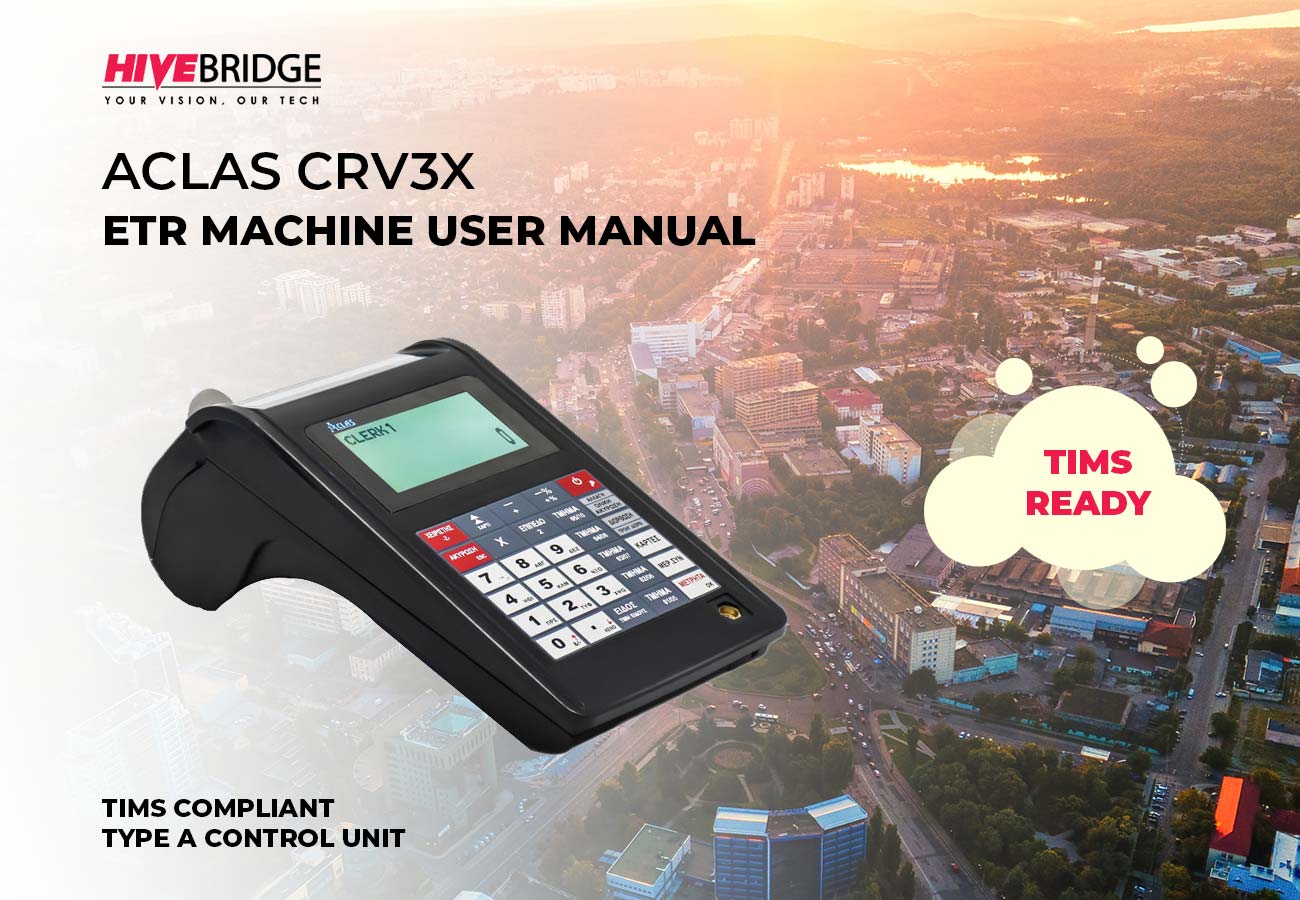
Aclas CRV3X Manual
From how to print a z – report to how to connect to wifi, do a credit note or a VAT Receipt this Aclas crv3x manual guides you on how to make the most out of your KRA TIMS ready Aclas CRV3X Etr Machine. The Aclas crv3x is one of the easiest etr machine to use in Kenya. Most receipts can be printed from the machine in just a few simple steps. Feel free to reach out to our extremely responsive support team in case your need further assistance on the use of this ETR machine.
How to make a sale
- Switch on the Etr Machine. The power button is located at the back of the ETR Machine
- The ETR Machine displays Cashier A on the screen immediately after been switched on:
- From here enter the amount of your sales. E.g., 1000 and then Press DP1 (Vatable Sale = 16%) or DP2 (Zero Rated 0%)
- Press the SBTL button to confirm you have entered the right figure, if correct, press CASH to issue the receipt otherwise, if the figure is wrong, void the transaction by pressing SHIFT followed by CE/ A.VOID
- The ETR Machine should print a receipt after pressing cash in the previous step. Tear off that receipt and immediately press cash again to issue a duplicate receipt.
Selling With PLU
- When Cashier A is displaying on the screen, enter your sales amount then press the PRICE button followed by PLU (E.G Sales Amount =12,000 the press price button, then press PLU 1)
- From the example above, the machine should print a receipt of 12,000 for PLU name number 1.
Making a sale with the buyers KRA PIN
- Make sure your ETR Machine is displaying CASHIER A on the Screen.
- Press the SHIFT button followed by the PRICE / PIN
- Enter the first letter of your customer’s KRA PIN (A or P)
- Press the FUNC
- Enter the nine numbers of the pin.
- Press the FUNC button
- Enter the last letter of your customer’s pin.
- Press CASH, confirm the pin entered is correct the proceed to key in the sales amount.
- Proceed with the sale as usual as outlined in the making a sale section of this Aclas CRV3X Manual.
- For instance if making a vatable sale press DP 1 Followed by the SBTL button to confirm amount. Proceed to press Cash If the figures are correct to print out a receipt with the buyers pin at the top.
How to make a credit note
If you realize that you have made a mistake in the total amount showing on your receipt. You can choose to do a credit note or a debit note. Note you can cancel a transaction before pressing the cash button when printing an ETR receipt. To do so press the SHIFT button followed by the CE/ A VOID button to void the transaction. If you had already pressed the CASH button, the void procedure can’t work and you’ll have to do a credit note. To do so, follow the Aclas CRV3X Manual steps below.
- Make sure your Etr Machine is displaying Cashier A on the screen
- Press the FUNC button
- The ETR Should show display CREDIT/DEBIT on the screen. Press CASH
- The ETR will prompt you to enter the RELEVANT NUMBER.
- Input the last digits of your invoice number on the ETR receipt you want to do a debit or credit on. (The last numbers are the numbers immediately after the many zeros of your invoice number)
- Press CASH
- The machine prompts you to either choose between a debit note or a credit note. (1. Credit, 2. Debit)
- Press 1 to do a credit or option 2 to do a debit then press CASH button
- Enter the amount you want to credit/ debit and then make a sale as you had in the original receipt

How to issue a Z-REPORT
- Make sure your ETR machine is on the CASHIER A Screen
- Press The CLERK button
- Scroll down to Z MODE using the PRICE button
- Press CASH when on Z-MODE
- When prompted to enter password, enter four zeros. (0000) then press CASH
- The etr machine will display DAILY Z on the screen.
- Press CASH to print out your daily Z REPORT.
How to issue a monthly report
- Make sure your ETR machine is displaying CASHIER A on the display
- Press CLERK button and scroll down to Z mode.
- Press CASH and then enter password 0000 then press CASH
- Press PRICE Button to go to FISCAL REPORT
- Choose between a DETAILED or a SUMMARY REPORT
- Press CASH
- When on the DATE-TO-DATE option, press CASH
- In next screen, enter your date range for which you want to print your report (DDMMYYDDMMYY)
- For Instance, to print a report for dates (01/01/22 to 31/01/22) Input the dates on the Aclas CRV3X Etr as follows (010122310122)
- Press CASH to print your report.
How to connect the ETR Machine to wifi
Aclas crv3x etr machine needs to be connected to the internet to be able to transmit data to the KRA Server. There are three options to connect this particular ETR machine, via wifi, ethernet or a 4G sim card. Follow this Aclas CRV3X Manual to know how to connect.
- Make sure your ETR Machine is displaying Cashier A on the screen.
- Press the CLERK button and scroll down till you find SET MODE option
- Press CASH and input password as 0000 if prompted to enter password.
- Scroll down to the SET PARAMETERS option and press CASH
- On the next screen, choose SET NET TYPE option and press CASH
- Your ETR Machine will prompt you to choose one of the following options (0: 4G) (1: Ethernet) (2: WIFI)
- Depending on how you intend to connect your ETR machine to the internet, input the number that corresponds to your option.
- WIFI is the most preferred option for most people, if it yours too, then press NUMBER 2 to activate WIFI and then press the CASH
- Now scroll down to the WLAN option and press CASH
- Scroll to the WIFI NAME option and press CASH, your ETR Machine will scan your surrounding and display all available WIFI networks on the screen including those from mobile hotspots.
- Select your network / WIFI name from the list then press CASH
- Enter the password of your network. Use the FUNC button to change from entering letters to digits. Use the SHIFT button to change from CAPSLOCK to LOWERCASE Use (1, 0 & DOT) keys for special characters such as (!@#$%^&*_)
- Use CE A. VOID button to delete.
- After entering the password, press CASH, if the password is correct, the ETR will connect to your Wi-Fi network and display OK on the screen. Otherwise, a password error will be displayed.
- After the ETR Machine displays OK, scroll down to the Wi-Fi AUTO-DHCP option then press CASH.
- For AUTO IP press 1 and then press the CASH button
- Press the RED C button till you’re on CASHIER A to continue using your ETR machine.


